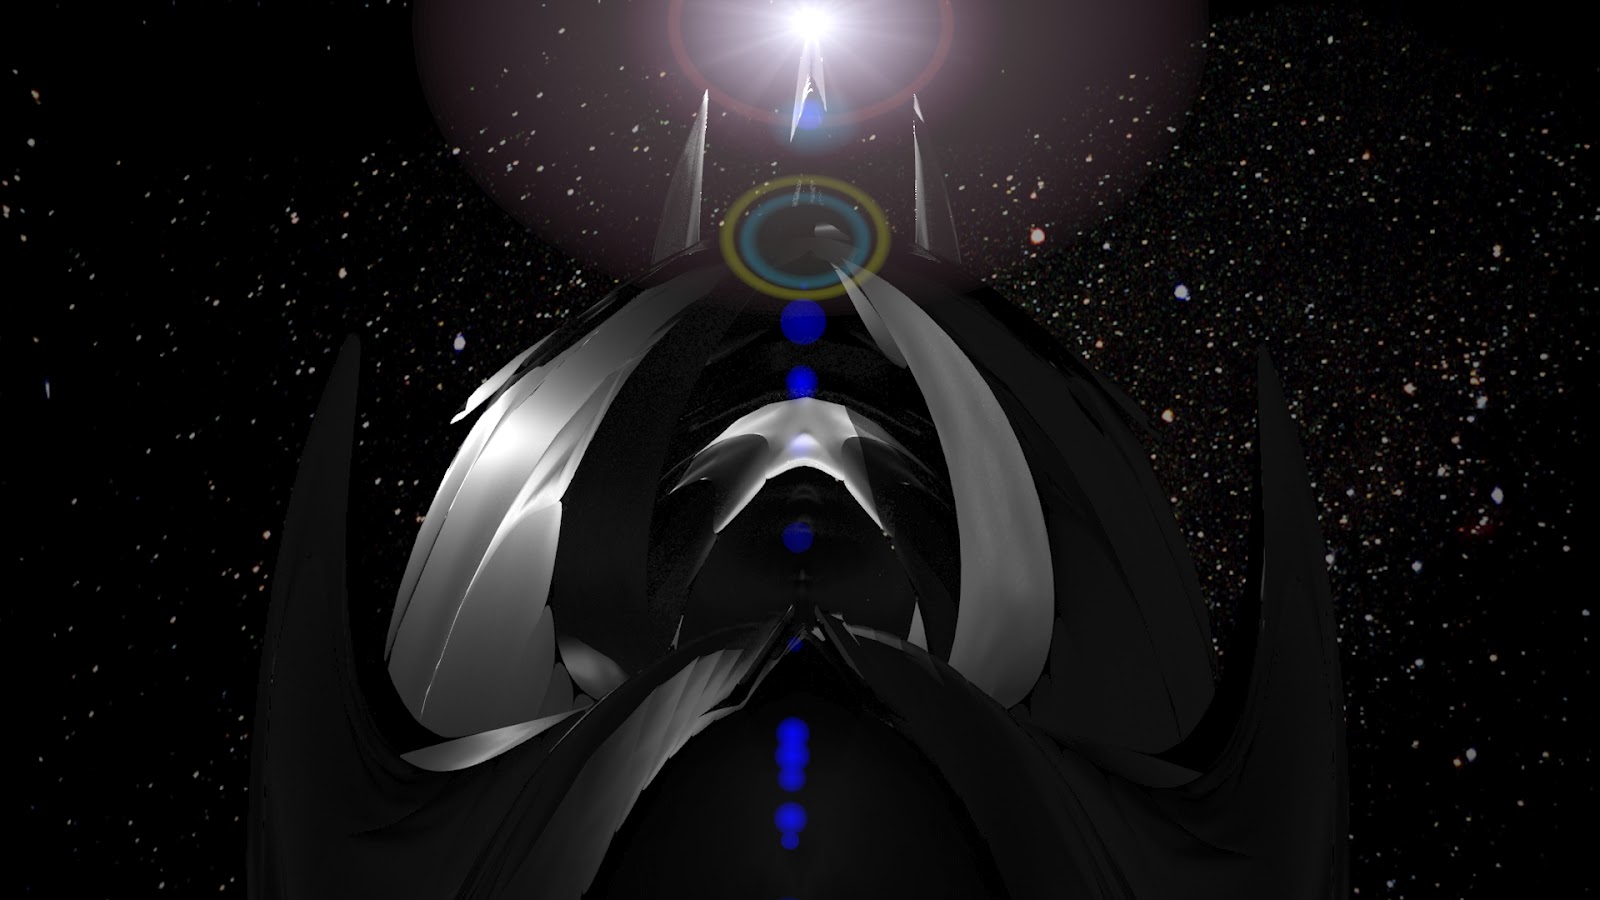
Here is the final Re-render for my 3DS Max Model for DSDN104 Project 2:
And here is the photograph of my final acrylic model:
Showing posts with label DSDN104_P2. Show all posts
Wednesday, 19 September 2012
Tuesday, 18 September 2012
Test Re-render
Here is a test render of my model in 3DS Max
I tried to replicate the photo that I've decided upon for my final, though I feel this is a really weak image and is so much more deserving of some nice textures and effects. Whilst the simplicity and contrast works in the photo I've taken, here it just looks underworked and plain. It does look strikingly similar though!
Re-rendering 3DS Max Model
I decided that I thought in all the photos in the previous post my model appeared to me as a vessel of some kind - like a ship in a vast ocean of a spaceship of some kind. I liked the spaceship idea because a lot of my model looks kind of alien, and it worked with the 3 words used to shape it. So I chose to re-render my model into a space scene! Here are some images of the process of re-rendering, you may even get a sneak preview of what it is to look like....
Lens Flare Effects! YUSS!
Acrylic Photoshoot
Here are some of the images that came from my first photoshoot of my acrylic model:
These are all without photoshopping, as I intend to take the images that I think work the best and do a second photoshoot and push my favourites that little bit further.
Monday, 17 September 2012
Putting Together the Acrylic Model
The time has finally come! And I'm still quite nervous about this.... But it is not the time for shaky hands!
Here are some images for the development of the acrylic model:
Here I used elastic to tie the two pieces of my model together that mold to each other. I used elastic to begin with because as I heated up the acrylic it would pull both of the pieces together into the right shape.
Once the two pieces were in the right shape I replaced the elastic with nylon fishing wire to complete the aesthetic. I found that I did this a little prematurely as I had to do a little bit more molding with the heat gun, and this ended up melting a bunch of the wire so that I had to start again. It all worked out in the end though!
Here are some images for the development of the acrylic model:
Here is an image of the slotting method I developed for this model. Each part has a slot in it that slides down a spine and slots into grooves that are notched into the spine, and once all the pieces are in place there is a thin strip of acrylic that slots neatly down through all of the holes left in the slots of all the pieces holding them all in place. I thought it was quite genius if I do say so myself!
Here I used elastic to tie the two pieces of my model together that mold to each other. I used elastic to begin with because as I heated up the acrylic it would pull both of the pieces together into the right shape.
Once the two pieces were in the right shape I replaced the elastic with nylon fishing wire to complete the aesthetic. I found that I did this a little prematurely as I had to do a little bit more molding with the heat gun, and this ended up melting a bunch of the wire so that I had to start again. It all worked out in the end though!
Saturday, 15 September 2012
The Card Model
Here is my sketch model made from the card that was laser cut that I used as practice for putting together the final acrylic model:
I decided on using sewing as a method of attaching my model as it seemed like an elegant way to piece together the two curved parts of my model. That and I could see no other way of doing it, and I can see already that it is going to be quite a challenge to get this to work with the acrylic model as it will have to be constantly heated to get it to the shape that I want.
It's also going to be really handy to have this for when I put the acrylic model together as I can see exactly what shapes to melt each piece into on a 1:1 scale. I'm quite nervous about this, as it feels like I've only got one shot to get it right.
I decided on using sewing as a method of attaching my model as it seemed like an elegant way to piece together the two curved parts of my model. That and I could see no other way of doing it, and I can see already that it is going to be quite a challenge to get this to work with the acrylic model as it will have to be constantly heated to get it to the shape that I want.
It's also going to be really handy to have this for when I put the acrylic model together as I can see exactly what shapes to melt each piece into on a 1:1 scale. I'm quite nervous about this, as it feels like I've only got one shot to get it right.
Saturday, 8 September 2012
Testing Acrylic
I decided that before going any further with the acrylic I should test it to see just how well it can be moulded using heat:
I used these as a sketch model to test how sharp an edge I could make after heating the acrylic, how well it would keep it's form after being heated, and especially with the spirals I wanted to see how sturdy the pieces would be after heating. The result was actually quite surprising to me, I thought the acrylic would be a really brittle material and might shatter when it was heated - but it was more like rubber, easily moulded and very strong once it was set. I did manage to burn my fingers a whole lot though. Very sore....
Joinery Precedents
I've had a good look at joinery methods to find a good way of holding my model together, and I found a couple of good techniques used in wood joinery:
The Dowelling Joint / Mortise & Tenon Joint
This is a very versatile joint used in plenty of wooden furniture, and it depends greatly on the accuracy of the holes you drill with a known diameter of dowelling. I know that the laser cutter is a very accurate tool, though I'm wondering whether there is enough strength and compressibility in the acrylic to let me use this method. I've bought a sheet so that I can do some tests, as the Mortise & Tenon joint (A rectangular version of the joint above) would be just what I need.
Gothic Joining
The joint on the side of this table is the traditional way of joining Furniture in the Gothic Period, and is a very sturdy way of ensuring that what you've built isn't going anywhere. I know that this method works when using wood (especially hardwoods), but I'm curious to see whether it would work with acrylic too or whether that would be to brittle a material. I'll definately test this concept as well. Maybe I can get a combination of these two methods?
The Dowelling Joint / Mortise & Tenon Joint
This is a very versatile joint used in plenty of wooden furniture, and it depends greatly on the accuracy of the holes you drill with a known diameter of dowelling. I know that the laser cutter is a very accurate tool, though I'm wondering whether there is enough strength and compressibility in the acrylic to let me use this method. I've bought a sheet so that I can do some tests, as the Mortise & Tenon joint (A rectangular version of the joint above) would be just what I need.
Gothic Joining
The joint on the side of this table is the traditional way of joining Furniture in the Gothic Period, and is a very sturdy way of ensuring that what you've built isn't going anywhere. I know that this method works when using wood (especially hardwoods), but I'm curious to see whether it would work with acrylic too or whether that would be to brittle a material. I'll definately test this concept as well. Maybe I can get a combination of these two methods?
Wednesday, 5 September 2012
The Unwrapped Model
Here I have one of my sketch models that I have spent most of my time aligning the dimensions of the pieces relative to each other using the line and ruler tools in Illustrator
It's a little hard to see, but it's there alright. This was probably the most painstaking part of the project so far, and it's especially hard not knowing whether it's even the right thing to do or not but I guess that's part of the fun! Just imagine if this works....
Half of these parts were drawn freehand with a lot of educated guesswork drawing straight from the 3DS Max model, and most of the dimensioning I did was only estimates for as far as I can see Illustrator hasn't managed to work out how to measure curved lines. Nevertheless! I have confidence that these parts will work, even if they don't perfectly fit each other. I guess the only way to find out is to try!
It's a little hard to see, but it's there alright. This was probably the most painstaking part of the project so far, and it's especially hard not knowing whether it's even the right thing to do or not but I guess that's part of the fun! Just imagine if this works....
Half of these parts were drawn freehand with a lot of educated guesswork drawing straight from the 3DS Max model, and most of the dimensioning I did was only estimates for as far as I can see Illustrator hasn't managed to work out how to measure curved lines. Nevertheless! I have confidence that these parts will work, even if they don't perfectly fit each other. I guess the only way to find out is to try!
Unrwapping the 3D Model from 3DS Max
I decided I would take the model I had in 3DS Max and attempt to unwrap it into a mesh that would be kind of like unfolding a cube. At least I thought it would be that easy, but after all the messing around making 81 models the UV mappings for my model looked like a scrunched up piece of paper. Well, even that's a understatement - it's not that hard unwrapping a scrunched up piece of paper. This was a nightmare.
So instead I've opted to segment the model into the pieces I want by selecting the individual polygons and breaking them away from the whole model and then rendering them individually in a render setup that remains consistent so that I don't lose the scale of the pieces in relation to each other
I then imported these renders into Illustrator and Live Traced them, but they again ended up looking like a dogs breakfast. This is when I realised I had another hurdle - in 3DS Max these parts that were rendered were still 3-Dimensional, so whilst I had the birds-eye-views of all the parts I had lost the depths of them all. There was no telling what scaling issues I would have in building this into a 3D model.....
To combat this, I scaled out a lot of the horizontal axis, but in the end there was really nothing I could do to get out perfect sections into Illustrator (and believe me, I tried my very best). This was always going to be a trial and error process.
So instead I've opted to segment the model into the pieces I want by selecting the individual polygons and breaking them away from the whole model and then rendering them individually in a render setup that remains consistent so that I don't lose the scale of the pieces in relation to each other
I then imported these renders into Illustrator and Live Traced them, but they again ended up looking like a dogs breakfast. This is when I realised I had another hurdle - in 3DS Max these parts that were rendered were still 3-Dimensional, so whilst I had the birds-eye-views of all the parts I had lost the depths of them all. There was no telling what scaling issues I would have in building this into a 3D model.....
To combat this, I scaled out a lot of the horizontal axis, but in the end there was really nothing I could do to get out perfect sections into Illustrator (and believe me, I tried my very best). This was always going to be a trial and error process.
Stacking Model
So I've put together my first model! This is my first attempt at a stacking model that came from the Illustrator file from the last post:
I ended up putting this model together with super glue and copper wire, as I wanted to see the form of the model I was creating without having to worry too much about how I was going to connect it - I figured if it worked this way then I could begin investigations into the connection issues later.
I'm really impressed that it came out so well, and I think it actually looks really good. Unfortunately because a lot of the pieces of this model aren't horizontal such that they could fit on the slice planes or perpendicular so that they could stack up, there were a bunch of pieces that simply couldn't attach to anything. I suppose they could be expendable, but I'd much rather have my model in it's entirety so I think I'm going to have a look at other methods of putting this model together.
I ended up putting this model together with super glue and copper wire, as I wanted to see the form of the model I was creating without having to worry too much about how I was going to connect it - I figured if it worked this way then I could begin investigations into the connection issues later.
I'm really impressed that it came out so well, and I think it actually looks really good. Unfortunately because a lot of the pieces of this model aren't horizontal such that they could fit on the slice planes or perpendicular so that they could stack up, there were a bunch of pieces that simply couldn't attach to anything. I suppose they could be expendable, but I'd much rather have my model in it's entirety so I think I'm going to have a look at other methods of putting this model together.
Tuesday, 4 September 2012
Creating Slicing Paths in Illustrator
I've never used Illustrator before, and I had the disillusioned belief that it would be almost exactly the same as Photoshop. It really isn't. But thankfully it doesn't take too much getting used to!
Here I've started importing the sections from 3DS Max and Live Tracing them to get these outlines.
I'm quite suprised by how nice there turned out! I was expecting a big mess of polygons spewed out of 3DS Max, but I can actually see how this came out of my model, though this is still looking a bit rough for the laser cutter, so if I choose to use the stacking method I'll have to clean it up a bit. But for now this will do to cut out into paper or cardboard to test whether it is a viable endeavour to improve this stacking file or find another method of assembly
Here I've started importing the sections from 3DS Max and Live Tracing them to get these outlines.
![]() |
| Original Model |
![]() |
| Second Model |
I'm quite suprised by how nice there turned out! I was expecting a big mess of polygons spewed out of 3DS Max, but I can actually see how this came out of my model, though this is still looking a bit rough for the laser cutter, so if I choose to use the stacking method I'll have to clean it up a bit. But for now this will do to cut out into paper or cardboard to test whether it is a viable endeavour to improve this stacking file or find another method of assembly
Slicing and Sizing in 3DS Max
After swapping the model I'm going to be using for this project, I had to dimension the model for slicing in 3DS Max with a dimension cube I imported from Solidworks. I then later discovered that you could actually directly dimension your model in 3DS Max, but hey, what's wrong with being a little cautious?
This model was dimensioned for the slicing model I intend to make, which consists of 27 sections. And as they're all supposed to fit on an A4 page, you can imagine they're quite small
Here is the final sliced model, ready for exporting into Illustrator for tracing. So pleased you can export directly from 3DS Max to a .AI file, else this would be a reeaaaaally tedious process setting up and rendering each slice
This model was dimensioned for the slicing model I intend to make, which consists of 27 sections. And as they're all supposed to fit on an A4 page, you can imagine they're quite small
Here is the final sliced model, ready for exporting into Illustrator for tracing. So pleased you can export directly from 3DS Max to a .AI file, else this would be a reeaaaaally tedious process setting up and rendering each slice
Monday, 20 August 2012
Sizing and Slicing 3DS Max Model
Sunday, 19 August 2012
Acrylic Model Precedents
I found some interesting acrylic models that I decided to use as precedents for their simplicity and elegance. Because one of my three words for my original model was "flux" I think that I would like to mold the plastic using heat to give it a fluid effect that I felt my original model showed so well
Subscribe to:
Posts (Atom)


